Magnetic Interior Window Inserts: Quiet, Warm Windows Without Replacement
Skip the window rip-out. Magnetic interior inserts add a nearly invisible acrylic pane that cuts drafts, dampens street noise, and preserves historic trim—often in a single afternoon DIY project.
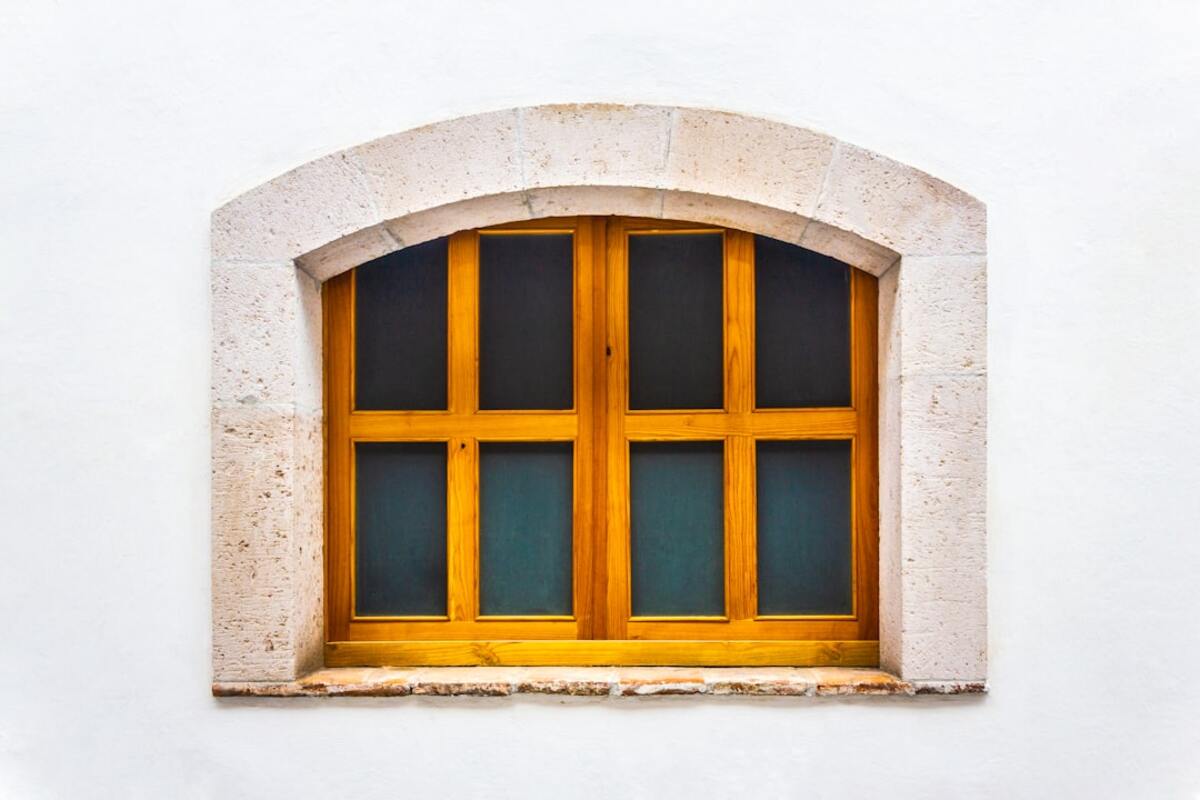
- Interior inserts add a second, airtight pane that slashes drafts and street noise without replacing windows.
- Magnetic mounting makes panels removable for cleaning, seasons, or emergencies—ideal for renters and historic homes.
- Measure precisely, choose the right thickness, manage humidity, and you’ll see immediate comfort and energy gains.
What Interior Window Inserts Are—and Why They’re Suddenly Everywhere
Replacing windows is expensive, disruptive, and often unnecessary. Interior window inserts offer a stealthy alternative: a clear acrylic or polycarbonate panel that seals magnetically to your existing frame, creating the airtight, insulating pocket that your original windows were missing. The result is a quieter, cozier room—without touching the exterior facade or trimming away historic details.
Think of an insert as a removable, custom-fitted storm window for the inside. A slim steel tape adheres to the inside face of your window jamb, and a matching magnetic strip runs around the edge of a clear panel. Bring the panel to the opening and—click—it seals. That tiny air gap between the original glass and the insert acts like a thermal blanket and a sound buffer.
Why is this trending now? Rising energy prices, denser urban living, and preservation-minded renovators have converged. Owners of historic homes want comfort without compromising original sash and trim. Renters want improvements they can install and remove without drilling. City dwellers want relief from traffic, trains, and late-night noise. Interior inserts meet all three goals with minimal tools and a day’s work per room.
Beyond comfort, inserts are practical. They’re easy to clean, they reduce dust infiltration, and they can tame winter condensation when paired with smart humidity control. Many DIYers report paying a fraction of the cost of replacement windows while seeing immediate improvements in draftiness and sound. If your frames are in fair structural shape (no rot at the stops), inserts are often the best cost-to-benefit renovation you can make this season.
A quick primer on physics helps: heat moves by conduction, convection, and radiation. The insert creates an interior dead air space, cutting convection. Acrylic is a poor conductor compared to glass, reducing conduction. The magnetic perimeter controls micro-leaks that drive convective currents. Add a low-e film to the panel and you’ll also reflect radiant heat back into the room. For sound, the mass-and-seal principle applies: while acrylic isn’t massively heavy, the airtight layer and difference in panel stiffness relative to the original glass disrupt how noise transmits, especially mid-to-high frequencies like traffic hiss and voices.
In short, you keep the windows you love and add the comfort you want. Let’s plan yours.

Measure Twice: Planning a Tight, Airtight Insert
Interior inserts are only as good as their seal. A slightly out-of-square opening or a missed gap will leak air—and noise. Good news: careful measuring and a few simple materials get you 95% of the way there.
Start by cleaning the interior jambs, rails, and stops. Remove old paint drips, loose caulk, and dust. You want a smooth, continuous surface for steel tape to adhere. If your sash lifts aren’t flush or there’s a lock strike protruding, plan for notches in the panel frame or slight relief with a utility knife in the magnetic gasket.
Measure the inside daylight opening where the insert will seat—usually between the interior stop moldings. Take width at top, middle, and bottom, and height at left, center, and right. Note the smallest width and height. Check diagonals to see how out-of-square the opening is; a variance under 1/8 inch is usually easy to accommodate with compressible weatherstrip behind the steel tape.
Plan to build your panel 1/8 inch smaller than the narrowest width and height. This allows for easy removal and seasonal wood movement. The magnetic strip and optional foam backing will make up the difference for a tight seal. For very large windows or where bowing is likely, include slim crossbars or a stiffer material like polycarbonate to limit deflection.
Material choice matters. Acrylic (PMMA) is crystal clear, light, and easy to cut. It scratches more readily than glass; clean with microfiber and a plastic-safe cleaner. Polycarbonate is tougher and more impact-resistant, ideal for kids’ rooms or ground-floor security, but can scratch more easily and may cost a bit more. For most residential inserts up to about 40 by 60 inches, 3/16 inch (4.5 mm) acrylic is a sweet spot. Oversized panes benefit from 1/4 inch (6 mm) thickness to keep panels from flexing.
To help you right-size thickness and budget, use the table below as a starting point. Adjust for your climate, noise concerns, and whether you’ll add a low-e film.
| Window opening (W × H) | Panel thickness | Typical sound reduction | Heating savings (season) | DIY cost per window |
|---|---|---|---|---|
| 24" × 36" (small) | 1/8" (3 mm) acrylic | 5–7 dB (noticeable) | 5–10% | $35–$60 |
| 30" × 54" (medium) | 3/16" (4.5 mm) acrylic | 8–12 dB (substantial) | 10–20% | $60–$110 |
| 36" × 60" (large) | 1/4" (6 mm) acrylic | 10–15 dB (major) | 15–25% | $110–$180 |
| Picture window 48" × 72" | 1/4" (6 mm) polycarbonate | 10–15 dB (major) | 15–30% | $180–$300 |
Notes on the numbers: decibels are logarithmic—roughly, a 10 dB reduction is perceived as about half the loudness for many common noises. Energy savings vary widely by climate, window condition, and fuel cost; the ranges above reflect typical homeowner reports for drafty single-pane windows once leaks are controlled.
If condensation is a recurring winter issue on your existing glass, the insert will change where moisture condenses. Ideally, drier indoor air and an airtight seal shift condensation to the original exterior glass or eliminate it. Use a hygrometer; keep indoor winter humidity around 30–40% to avoid frost between panes. If you see moisture between the glass and insert, improve the seal or add a discreet moisture vent at the top edge of the panel frame while maintaining the overall air barrier.
Before buying materials for the whole house, build a single test insert. You’ll confirm measurements, magnet polarity, and finish choices, then roll your process window-by-window.
DIY Build: From Magnetic Strip to Finished Frame
You can build a clean-looking insert with common tools and an afternoon per window. The core ingredients are clear sheet material, magnetic and steel tape, and an edge treatment that doubles as a handle and protects the panel.
- Prepare the opening. Vacuum the inside stops and wipe with isopropyl alcohol. Lightly sand high spots on paint drips. Dry-fit a strip of paper around the perimeter to verify continuous surface contact.
- Apply steel tape to the frame. Use 1/2–3/4 inch wide galvanized steel tape with a pressure-sensitive adhesive. Miter corners for a professional look. Press firmly with a seam roller. Tip: If your paint is delicate or you’re renting, apply a high-adhesion painter’s tape first, then the steel tape to that layer. You’ll sacrifice some long-term durability but preserve finishes.
- Cut the clear panel to size. Measure width and height at the points where the steel tape sits. Subtract 1/8 inch from each dimension for clearance. Use a fine-tooth blade on a table saw, a scoring knife for thin acrylic, or a circular saw with a plastic blade. Support both sides to prevent chipping. Wear eye protection and keep the protective film on until final fit.
- Add an edge frame (optional but recommended). A slim U-channel (PVC or aluminum) or peel-and-stick edge gasket protects the acrylic and hides the magnet tape. If you prefer a wood look, build a 1/2 x 3/4 inch poplar frame with mitered corners and glue it to the panel’s perimeter using a plastic-safe adhesive. Sand and paint to match trim.
- Apply magnetic tape to the panel. Use magnetic strip that matches the width of your steel tape. Important: magnets have polarity—ensure the magnet adheres smoothly to your installed steel tape before committing. If you’re framing the panel with a U-channel, seat the magnetic strip inside the channel so it sits proud by about 1/16 inch to guarantee contact pressure. Roll the adhesive thoroughly.
- Reinforce large panels. For big spans, a clear acrylic stiffener bar or thin wood muntin glued to the panel’s interior face prevents bowing. Place it horizontally on tall windows to resist gravity deflection.
- Install pull tabs or low-profile handles. Two small recessed pulls or fabric tabs make removal easy without compromising the seal. Avoid bulky hardware that interferes with shades or blinds.
- Test fit and correct. Bring the panel to the opening and let the magnet find the steel. Check for gaps by feeling for cold air or using a smoke pencil/incense. If you detect a leak along one edge, add a compressible foam kerf behind the steel tape or upgrade to thicker magnetic strip for more bite.
- Finish edges and polish. Peel the panel’s protective film, clean with an anti-static plastic cleaner, and lightly wax the acrylic edges to reduce dust cling. Re-install and enjoy the hush.
Upgrades worth considering:
- Low-e film applied to the room side of the insert to reflect radiant heat back inside in winter and reduce solar gain in summer.
- Tinted or UV-filtering film in south-facing rooms to protect fabrics and art.
- Magnetic corners or keyed tabs that ensure consistent alignment after removal and reinstallation.
Safety and code notes: Maintain egress in bedrooms—at least one window must remain operable for exit in an emergency. The beauty of magnetic inserts is quick removal, but do not block an egress path with heavy furniture. In kitchens or near heat sources, choose polycarbonate for higher heat resistance and impact strength; keep panels a safe distance from open flames. Always verify local requirements if you’re in a landmark district; interior modifications are rarely regulated, but exterior-visible changes are.
For renters, check your lease and use removable adhesives if needed. Magnetic inserts typically leave minimal trace upon removal, especially if you used an intermediary painter’s tape layer under the steel strip.
Performance, Use, and Maintenance
When the panel clicks into place, you’ll notice the difference immediately: drafts calm down, the room feels less edgy with noise, and the thermostat cycles less frequently. Over a heating season, many homeowners see noticeable utility savings because infiltration is one of the largest heat losses in older homes. Pair the panels with basic air sealing elsewhere—outlets on exterior walls, baseboard gaps, sash cord holes—and the benefits multiply.
Noise reduction depends on the original window, the gap depth, and the airtightness of your seal. Increasing the air space between the glass and insert changes the frequency at which sound resonates through the assembly. If your stops allow, consider slight spacers to set the panel farther from the glass, especially for very high-frequency city noise. For low-frequency rumbles (subway lines, heavy trucks), combinations of mass and decoupling work best; inserts still help by sealing leakage paths and adding a second layer with a different stiffness than glass.
Condensation and humidity are the most common questions. A well-sealed insert usually reduces condensation on interior surfaces by keeping the inner pane warmer. But moisture finds its way to the coldest surface, and if indoor humidity is high (showers, cooking without venting, humidifiers), condensation can form on the original glass between the panes. Control indoor humidity with bath fans (run them 20 minutes after showers), range hoods that vent outside, and by not overdosing humidifiers. A simple hygrometer will teach you how your home behaves in different weather. If fogging persists at the top of the cavity, a micro breather hole concealed in the upper frame can equalize pressure without killing performance, but try tightening the seal first.
Cleaning and care are simple. Dust the panel with a microfiber cloth and clean using a plastic-safe cleaner; avoid ammonia-based glass cleaners, which can haze acrylic. If hairline scratches accumulate, a plastic polish can restore clarity. If you used an edge U-channel, remove it seasonally to wipe any trapped dust. Steel and magnetic tapes typically hold up for years; if you see an edge lifting, warm the adhesive with a hairdryer, press firmly, or replace that section with a fresh length after degreasing the surface.
Thermal expansion is real. Clear plastics expand more than glass. In sunny exposures, a dark shade behind the insert can turn the cavity into a solar oven. Leave a small expansion allowance in your panel sizing and avoid very dark films in hot, direct sun unless specified for plastics. If you hear occasional faint pops as temperatures swing, that’s typically the panel moving slightly; confirm your magnet and steel strips are fully adhered and your panel has a hairline of clearance at corners.
A few real-world tips that separate a good job from a great one:
- Color-match the steel tape. Many brands offer white, bronze, or paintable finishes that disappear against your jambs.
- Label each panel discreetly (e.g., LR-2 for “Living Room window 2”) to speed seasonal changes.
- Order oversized sheets and nest your cuts to reduce waste—one 4×8 acrylic sheet can yield multiple medium windows.
- Use a magnetic polarity marker when cutting multiple panels; keep all magnets oriented the same way for interchangeability.
- If you have plantation shutters or deep blinds, measure projection carefully; inserts usually fit behind them with thoughtful planning.
Cost expectations: for a medium window, most DIYers spend between $60 and $110 including acrylic, tapes, and edge trim. Pro-made inserts cost more but arrive custom-sized with clean frames, low-e options, and warranties. Even then, the expense is a fraction of full replacement, especially for odd sizes or curved-top windows where custom sashes get pricey.
Where inserts shine most:
- Historic homes with original sash where replacement would damage character or violate preservation guidelines.
- Rental apartments where permanent alterations aren’t allowed.
- Nurseries and bedrooms facing busy streets where nighttime noise matters.
- Home offices and studios where reverberation and outside chatter are distracting.
Where they help but aren’t a cure-all: wildly loose or rotted windows. If the sash rattles or the frame is spongy, tackle those structural issues first—tighten sash cords, re-glaze panes, and repair rot. Inserts supercharge a decent window; they don’t resurrect a failing one.
The insert itself seals the entire opening, so while it’s in place you won’t operate the sash. For ventilation, pop the insert off, open the window, and reattach later. In spring and fall, many homeowners leave inserts off in select rooms and reinstall before peak heating or cooling seasons.
The insert itself seals the entire opening, so while it’s in place you won’t operate the sash. For ventilation, pop the insert off, open the window, and reattach later. In spring and fall, many homeowners leave inserts off in select rooms and reinstall before peak heating or cooling seasons.
Most homes have slight variations. Build the panel 1/8 inch smaller than the tightest dimension and rely on compressible foam behind the steel strip to take up irregularities. For severe racking, consider a wood-framed insert with a slightly flexible gasket to maintain seal contact around all sides.
Most homes have slight variations. Build the panel 1/8 inch smaller than the tightest dimension and rely on compressible foam behind the steel strip to take up irregularities. For severe racking, consider a wood-framed insert with a slightly flexible gasket to maintain seal contact around all sides.
Acrylic offers excellent clarity and stiffness at lower cost—great for most interior inserts. Polycarbonate is stronger and more impact-resistant, making it a smart choice near doors, in kids’ rooms, or for very large panels. Both insulate similarly at the same thickness; choose based on size, location, and durability needs.
Acrylic offers excellent clarity and stiffness at lower cost—great for most interior inserts. Polycarbonate is stronger and more impact-resistant, making it a smart choice near doors, in kids’ rooms, or for very large panels. Both insulate similarly at the same thickness; choose based on size, location, and durability needs.
Steel tape adhesives are designed for painted wood and metal. On newer paint, adhesion is excellent and removal is usually clean with gentle heat. On fragile or historic finishes, prime first or use a removable intermediate tape. Always test in an inconspicuous spot before committing.
Steel tape adhesives are designed for painted wood and metal. On newer paint, adhesion is excellent and removal is usually clean with gentle heat. On fragile or historic finishes, prime first or use a removable intermediate tape. Always test in an inconspicuous spot before committing.
Exterior storms protect the primary window from weather and can perform very well, but they alter the facade and often require drilling and ladders. Interior inserts deliver much of the same draft, noise, and energy improvement from inside with minimal visual change and easy access for cleaning.
Exterior storms protect the primary window from weather and can perform very well, but they alter the facade and often require drilling and ladders. Interior inserts deliver much of the same draft, noise, and energy improvement from inside with minimal visual change and easy access for cleaning.
With one test panel under your belt, you’ll develop a rhythm: measure, cut, frame, magnet, click. Each window gets easier. In a weekend, a room you dreaded for its winter drafts and endless street hum becomes a place you actually want to be—without touching the exterior or calling a crew. It’s renovation at its most elegant: solve the problem you feel without replacing the things you love.